My article mainly introduces the reasons why I chose this NAS, as well as the hardware usage records, and the process of installing dsm.
In NAS, the English full name is Network Attached Storage. The superficial definition is an external hard disk with network connection function. It can access and share remote files, and it can be used as a multi-person common through the Internet. Use, before the general internal use of the company, in recent years, due to the impact of the domestic environment, several public cloud network disk has been withered, many people's data resources suffered heavy losses, but also directly led to people's concerns about data security, so The concept of private cloud has become a hot topic.
The simplest private desire is the router external mobile hard disk, can achieve simple remote download, LAN sharing and other functions, the disadvantage is often high resource occupancy, continuous reading and writing hard disk is easily damaged; further is to download treasure, playing off clouds and other introductory Equipment, the disadvantage is that some hardware and software defects, features inadequate; mature program is the NAS equipment, you can assemble or buy finished products, and now the most famous is the group of Hui, and other QNAP, Tieweima and so on.
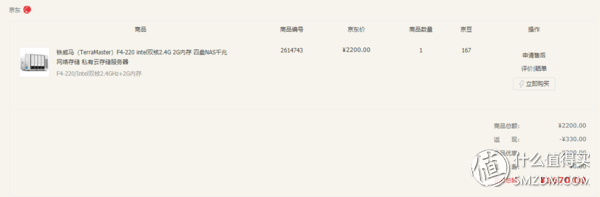
Since it is the first NAS device, it intends to purchase the finished product directly, with a budget of 1,500 or so. The first consideration is the group of Hui, but this price can only be purchased in two places, and then when the comparison is made, it is found that Tieweima is the main player. Aluminum body color value is good, and this time just Tieweima is doing promotion, but also intel processor, the original price of 2200 four NAS available 200 coupons, and participate in full 199 minus 30 activities, not counting down 1670 can start, so direct orders.
Sun drying order screenshot below
About this machine's drying sheet, I have seen two out-of-box drying sheets in the station, so I won't go into details. If you are interested, you can click on the link below.
link
I will simply make an unboxing

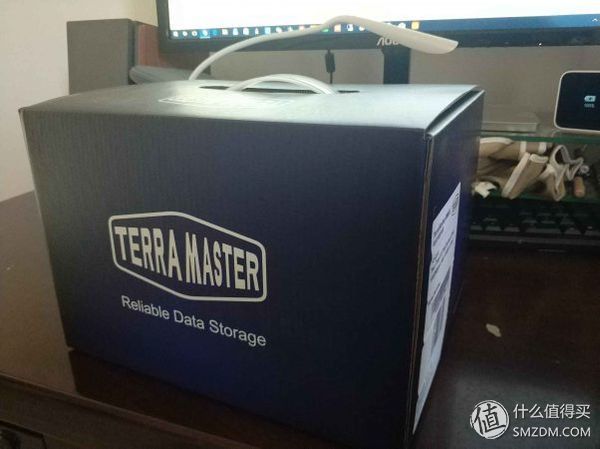
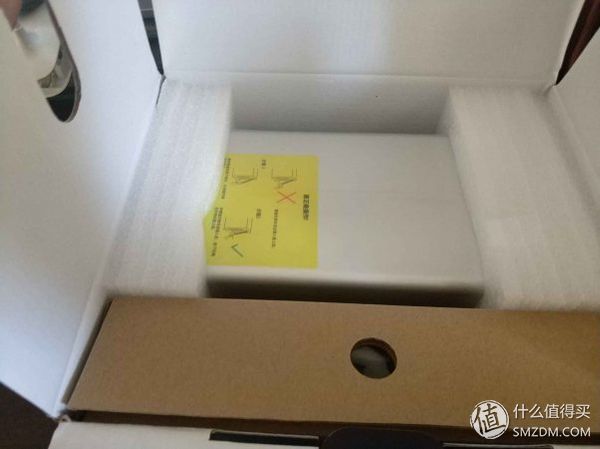

All accessories, sent a screwdriver and a cable, cable should be six types of lines.
install the systemIf you want to use Tieweima's own TOS system, then directly install the hard disk to use, but this machine uses a USB disk as a guide, this can be very easy to install Synology DSM, only three steps: remove the USB flash drive - Brush guide - install a USB flash drive.
The first step: remove the USB flash drive
This should be the focus. This machine is actually very easy to disassemble. First, remove the six screws around the rear fan. One of the bottom middle ones is under the security label, and the anti-counterfeit sticker can be removed easily.
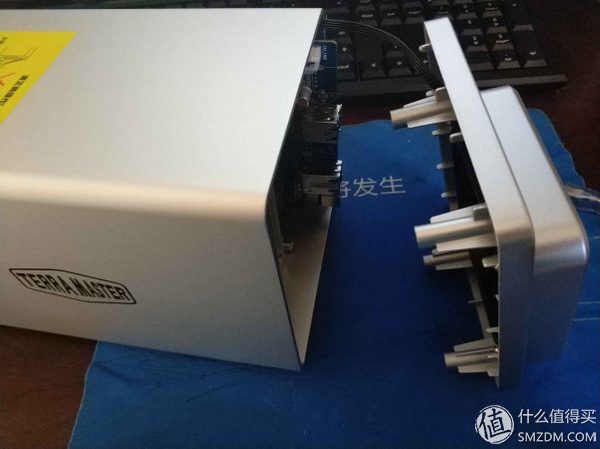
After unscrewing the screws, the back cover can be removed. The fan's cable and the motherboard's plug are fixed with hot-melt glue. We only use the built-in bootable U disk for demolition of iron, so we can simplify the processing and we will not remove the socket. Now, just put the back cover diagonally and pull the front panel forward from the front to remove all the items outside the shell from the front.
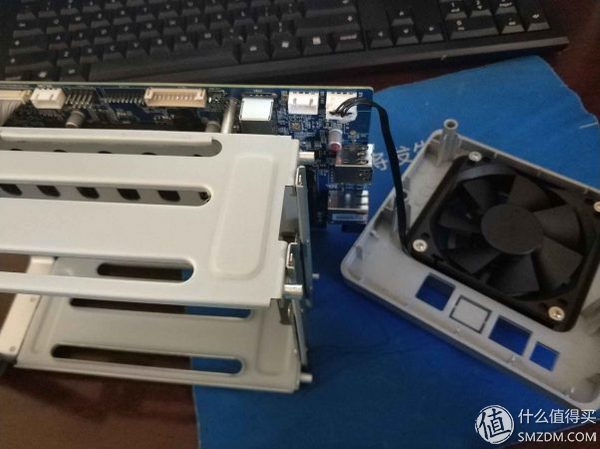
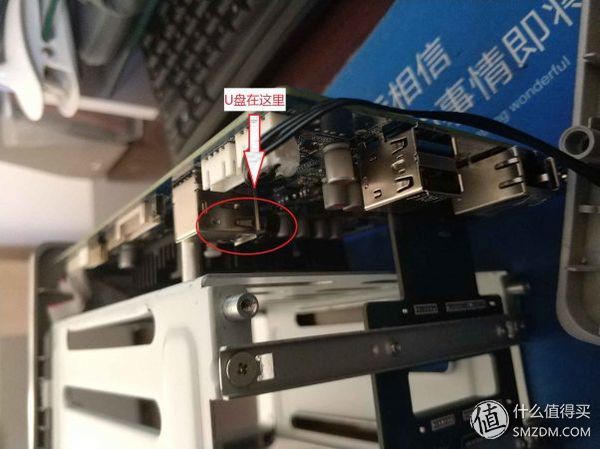
Only remove the U disk, this step is enough, otherwise you still need to remove 8 screws to remove the motherboard. Then put in your finger and you can remove the U disk, and then put it back in the opposite step. In this way, the preparatory work on the equipment is completed.
The second step: brush guide
If you want to experience TOS later, it is recommended to keep the original boot flash drive, and choose a USB flash drive guide. This part benefits from nasyun forum.
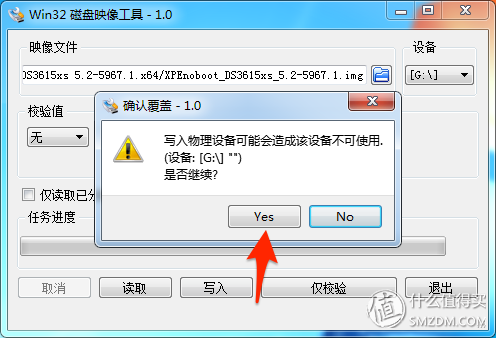
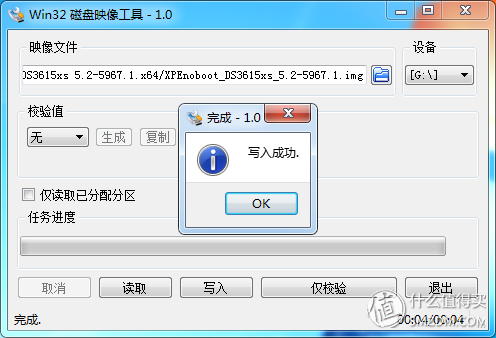
Need the latest DSM boot file and Win32DiskImager software, I chose to simulate the DS3617XS, download the DS3617XS synoboot.img, and then open the Win32DiskImager

I think there are still many tutorials on the Internet that say whitewash, give up, and there is no way to whitewash.
The third step: replace the USB drive
Refer to the first step, or plug directly into the back of the usb port (this will take up the precious usb interface ~)
Then the preparation of the hardware is completed, and the nas is installed, and the power supply is plugged in. The network cable is connected to the router and turned on, and the fourth step is performed when the WLAN behind the NAS is flashing.
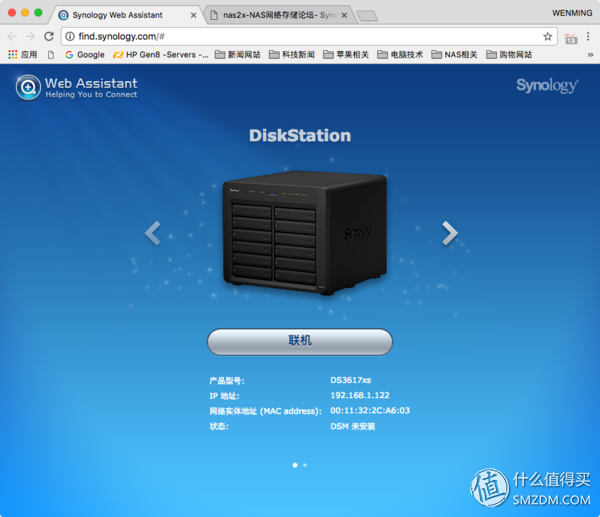
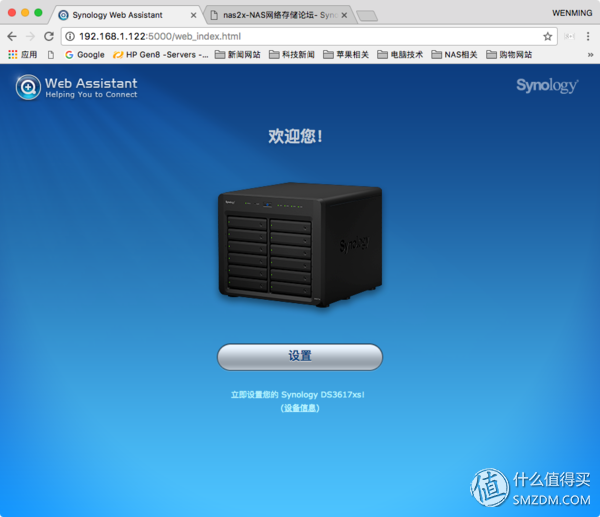
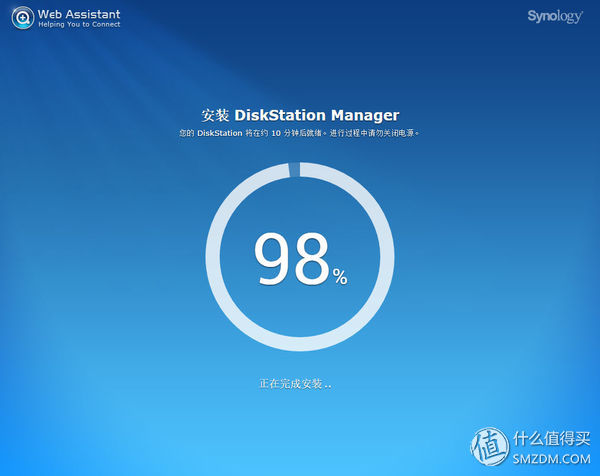
Step 4: On the computer on the same network segment, install “Family Faith Assistantâ€, search for NAS after running, double-click to connect, and then set up, and then immediately install, directly download and install the system online, you do not need to download pat in advance. System image
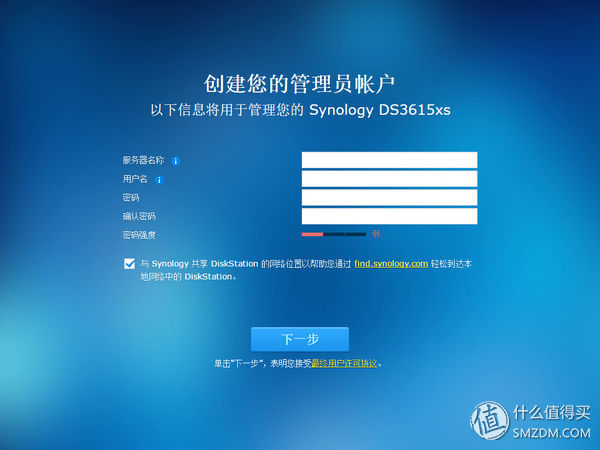
Follow the prompts to set up an administrator account, then enter the system settings raid and disk space, and then create a shared folder to use
Langrui Energy (Shenzhen) Co.,Ltd , https://www.langruibattery.com